

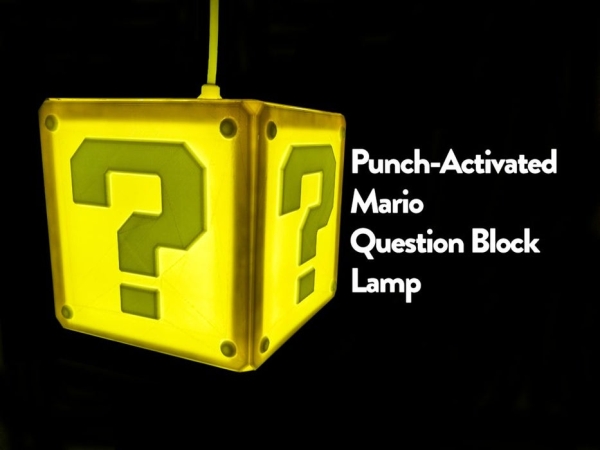
بازی های سوپر ماریو دوران کودکی من بود. من همیشه می خواستم برخی از وسایل را در بازی ها داشته باشم و حالا که ابزار انجام آن را دارم، تصمیم گرفتم شروع به ساخت آنها کنم. اولین موردی که در لیست من وجود دارد، Question Block است. من موفق شدم بلوک سوال را طوری درست کنم که وقتی آن را پانچ می کنید یا روشن یا خاموش می شود. هنگامی که روشن یا خاموش می شود، یکی از چهار جلوه صوتی Super Mario Bros را پخش می کند. به گونه ای طراحی شده است که به یک سوکت لامپ بپیچد و از سقف آویزان شود. اگر میخواهید آن را به گونهای دیگر آویزان کنید که به راحتی انجام شود، تنها کاری که باید انجام دهید این است که به یک منبع تغذیه ۱۲ ولتی نیاز دارد که به هر جایی که آن را نصب کنید، هدایت شود.
مرحله 1: مواد و ابزار
مواد:
- رشته PLA زرد
- فیلامنت سفید PLA
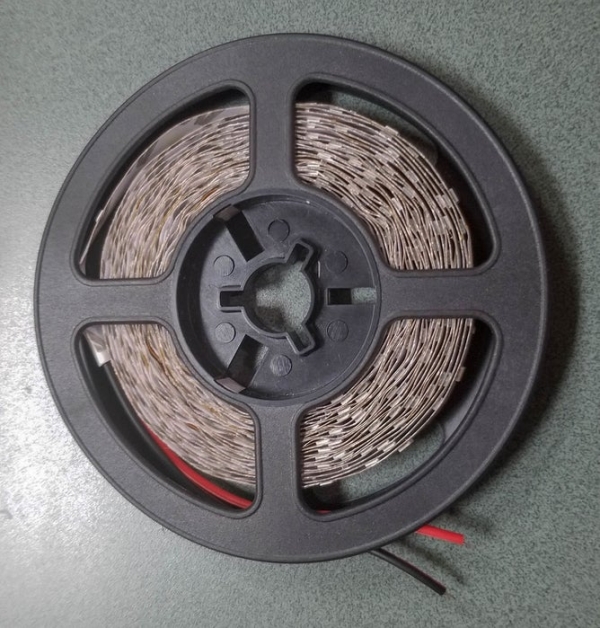
- نوار LED سفید 12 ولت (رول 5 متر)
- Arduino Pro Mini (نوع ATMEGA328P 5V 16Mhz)
- سنسور لرزش SW420
- ترانیستور 2N2222
- TIP120 ترانزیستور دارلینگتون
- مبدل کاهنده DC-DC (برای 12 ولت به 5 ولت آردوینو نیاز دارد)
- اسپیکر 0.5 واتی 8 اهم
- منبع تغذیه 12 ولت 1 آمپر
- سیم غلاف 2 هسته ای
- متفرقه سیم
- پیچ و مهره M3
ابزار:
- چاپگر سه بعدی (ترجیحا دو رنگ، اما تک رنگ کار می کند، فقط سخت تر)
- سیم بر، دم باریک
- سیم کش
- چسب فوق العاده
- پیچ گوشتی فیلیپس
- ابزار چاقو
- آهن لحیم کاری
- 60/40 لحیم سربی کلوفون هسته دار
- برنامه نویس FTDI و کابل USB Mini-B
- چسب حرارتی تفنگی
مرحله 2: چاپ محفظه (اگر چاپگر دو رنگ دارید)
اگر یک چاپگر دو رنگ دارید، این مرحله بسیار ساده است. چهار تا از قسمت های کناری را چاپ کنید که از رنگ زرد برای قطعه پایه و سفید برای سایر قطعات داخلی استفاده می شود (تکه های این کار را زرد و سفید می گویند). سپس پایه پایین، چهار بریس و قسمت بالایی را فقط با استفاده از رنگ زرد چاپ کنید. هنوز پانل های جانبی را چسب نزنید زیرا این کار نصب نوار LED را دشوارتر می کند.
مرحله 3: چاپ محفظه (اگر چاپگر تک رنگ دارید)

اگر از یک چاپگر تک رنگ استفاده می کنید، در حالی که این امکان وجود دارد، چاپ پانل های جانبی بسیار دشوارتر است. تمام قطعات دیگر دقیقاً به همان اندازه چاپ می شوند که تک رنگ هستند. هنگام چاپ قطعات تک رنگ، پایه پایین، بالا و چهار قطعه پشتیبانی را چاپ کنید.
برای دو قطعه رنگی، چهار پایه برای کنارهها را در تنظیمات معمولی به رنگ زرد PLA چاپ کنید. چهار مجموعه از قطعات داخلی را به رنگ سفید چاپ کنید. چهار مجموعه از این قطعات را پرینت بگیرید و آنها را به سوراخ های بریده شده در پانل های جانبی بچسبانید.
منبع: لامپ بلوک سوالی ماریو فعال پانچ
در ادامه، متن انگلیسی این مطلب را میتوانید مشاهده نمایید:
The Super Mario games were my childhood. I’ve always wanted to have some of the props in the games, and now that I have the tools to do it, I decided to start making them. The first up of that on my list is the Question Block. I managed to make the question block so that when you punch it, it either turns on or off. When it is triggered on or off it plays one of four sound effects from Super Mario Bros. It is designed to screw into a lightbulb socket and hang from the ceiling. If you wanted to hang it differently that can be done easily, all that has to be done is that it needs a 12V power supply routed to wherever you mount it.
Step 1: Materials and Tools
Materials:
- Yellow PLA filament
- White PLA filament
- 12V White LED Strip (5m roll)
- Arduino Pro Mini (ATMEGA328P 5V 16Mhz variant)
- SW420 Vibration Sensor
- 2N2222 tranistors
- TIP120 Darlington Transistor
- DC-DC Step-down converter (for the 12V to the 5V the arduino requires)
- 0.5W 8-Ohm speaker
- 12V 1A Power Supply
- 2 Core Sheathed Wire
- Misc. Wire
- M3 screws and nuts
Tools:
- 3D printer (preferably dual color, but single color will work it’s just harder)
- Wire Cutters
- Wire Strippers
- Super Glue
- Philips Screwdriver
- Utility Knife
- Soldering Iron
- 60/40 Lead Solder Rosin Cored
- FTDI Programmer and Mini-B USB Cable
- Hot Glue Gun
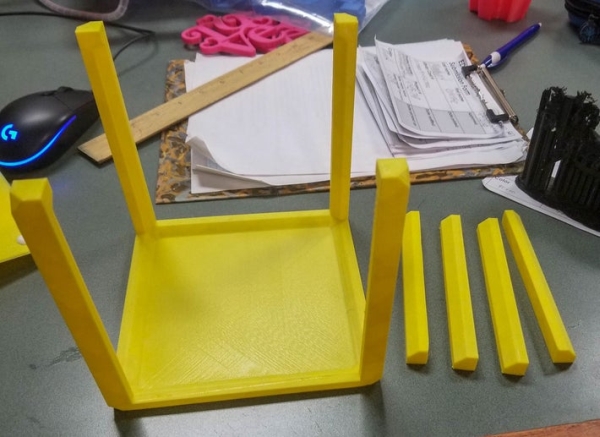
Step 2: Printing the Enclosure (If You Have a Dual Color Printer)
If you have a dual color printer this step is pretty straightforward. Print four of the side pieces, which uses yellow for the base piece and white for the other inner pieces (the pieces for this are called yellow and white). Then print the bottom base, four braces, and the top using yellow only. Don’t glue the side panels on yet because this will make installing the LED strip more difficult.
Step 3: Printing the Enclosure (If You Have a Single Color Printer)
If you are running a single color printer, while this is possible, it is much more difficult to print the side panels. All of the other pieces print exactly the same as they are single color. When printing the single color pieces print the bottom base, top, and four of the support pieces.
For the two color pieces print out four of the bases for the sides at normal settings in yellow PLA. Print out four sets of the inner pieces in white. Print out four sets of these pieces and super glue them into the holes cut out in the side panels.
