

در این پروژه قصد داریم یک سیستم تشخیص و مانیتورینگ ضربان قلب با استفاده از آردوینو بسازیم که ضربان قلب را با استفاده از سنسور پالس تشخیص میدهد و خوانشها را بر حسب BPM (ضربان در دقیقه) روی LCD متصل به آن نشان میدهد. همچنین خوانشها را با استفاده از ماژول Wi-Fi ESP8266 به سرور ThingSpeak ارسال میکند تا بتوان ضربان قلب را از هر کجای دنیا از طریق اینترنت کنترل کرد. ThingSpeak یک منبع عالی برای نمایش داده ها به صورت آنلاین است و می توانید در هر زمان و در هر مکان به داده های ThingSpeak دسترسی داشته باشید.
ما قبلاً یک مانیتور ضربان قلب ساده بدون نمایش دادهها در اینترنت ساختهایم . این بار ما از ThingSpeak برای نظارت بر سیستم از طریق اینترنت استفاده کردهایم و این پروژه را در دسته IOT قرار میدهد .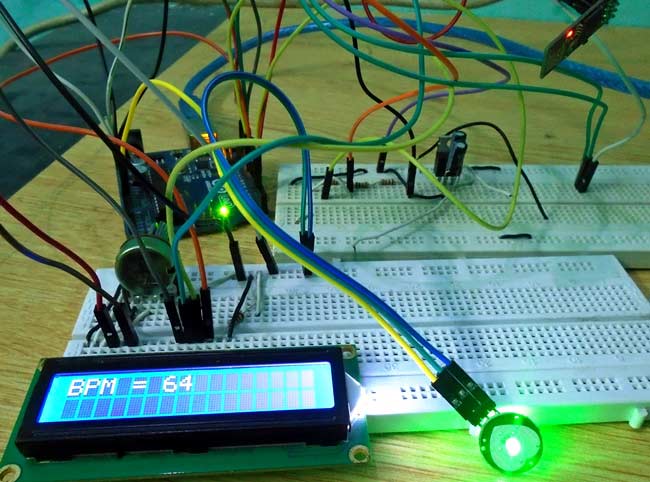
اجزای مورد نیاز:
- سنسور پالس
- ماژول وای فای ESP8266
- آردوینو اونو
- ال سی دی
- تخته نان
- پتانسیومتر 10k
- مقاومت 1k
- مقاومت های 220 اهم
- رهبری
- سیم های اتصال
نمودار مدار و توضیح:
اول از همه ESP8266 را به آردوینو متصل می کنیم . ESP8266 روی 3.3 ولت کار می کند و اگر 5 ولت از آردوینو به آن بدهید، به درستی کار نمی کند و ممکن است آسیب ببیند. VCC و CH_PD را به پایه 3.3 ولت آردوینو وصل کنید. پین RX ESP8266 روی 3.3 ولت کار می کند و زمانی که آن را مستقیماً به آردوینو وصل کنیم، با آردوینو ارتباط برقرار نمی کند. بنابراین، ما باید یک تقسیم کننده ولتاژ برای آن بسازیم که 5 ولت را به 3.3 ولت تبدیل می کند. این را می توان با اتصال سه مقاومت به صورت سری مانند آنچه در مدار انجام دادیم انجام داد. پایه TX ESP8266 را به پایه 9 آردوینو و پایه RX ESP8266 را از طریق مقاومت ها به پایه 10 آردوینو وصل کنید.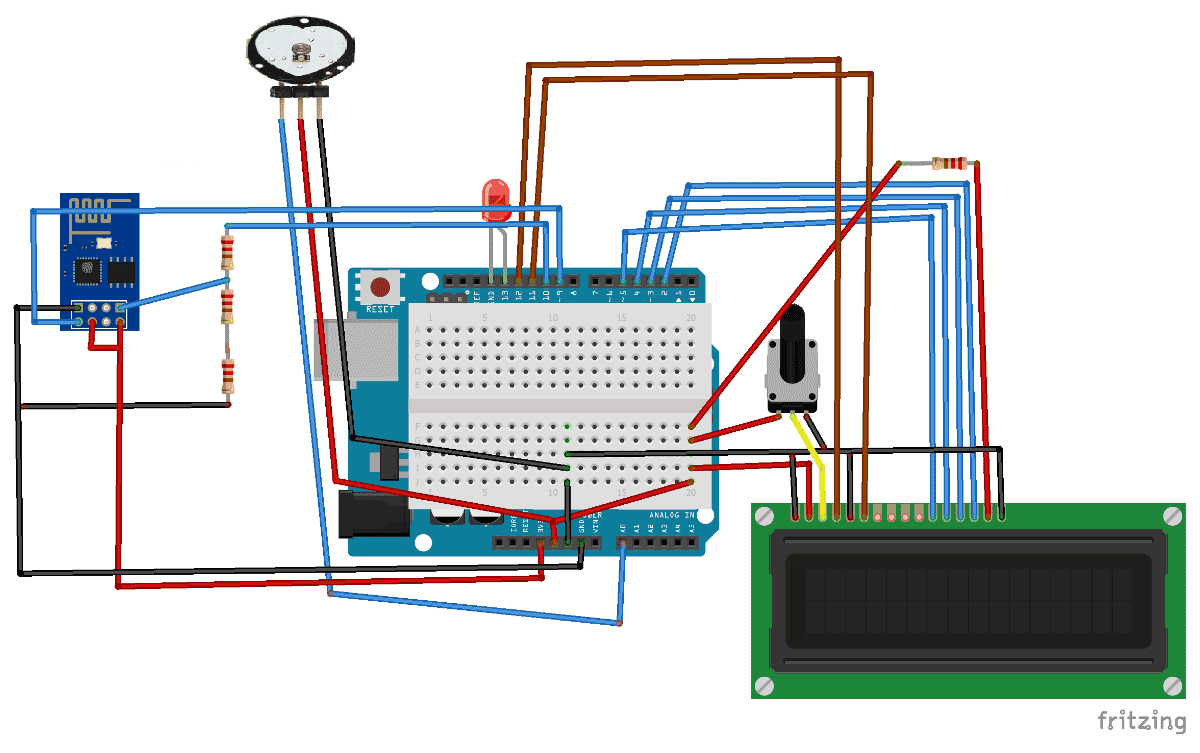
بیشتر بخوانید: نظارت بر ضربان قلب از طریق اینترنت با استفاده از آردوینو و ThingSpeak
در ادامه، متن انگلیسی این مطلب را میتوانید مشاهده نمایید:
In this project we are going to make a Heart Beat Detection and Monitoring System using Arduino that will detect the heart beat using the Pulse Sensor and will show the readings in BPM (Beats Per Minute) on the LCD connected to it. It will also send the readings to ThingSpeak server using the Wi-Fi module ESP8266, so that Heart Beats can be monitored from anywhere in the world over the internet. ThingSpeak is a great source for displaying the data online and you can access the data from ThingSpeak at any time and at any place.
We have previously built a simple Heart Beat Monitor without showing data on Internet. This time we have used ThingSpeak to monitor the system over internet, and this will put this project into IOT category.
Components Required:
- Pulse sensor
- Wi-Fi module ESP8266
- Arduino Uno
- LCD
- Bread Board
- 10k potentiometer
- 1k resistors
- 220 ohm resistors
- LED
- Connecting wires
Circuit Diagram and Explanation:
First of all we will connect the ESP8266 with the Arduino. ESP8266 runs on 3.3V and if you will give it 5V from the Arduino then it won’t work properly and it may get damage. Connect the VCC and the CH_PD to the 3.3V pin of Arduino. The RX pin of ESP8266 works on 3.3V and it will not communicate with the Arduino when we will connect it directly to the Arduino. So, we will have to make a voltage divider for it which will convert the 5V into 3.3V. This can be done by connecting three resistors in series like we did in the circuit. Connect the TX pin of the ESP8266 to the pin 9 of the Arduino and the RX pin of the ESP8266 to the pin 10 of Arduino through the resistors.
Read More: Heart Beat Monitoring over Internet using Arduino and ThingSpeak
